


How to Invert a Picture: Easy Guide for Everyone
Sometimes we see photos online where the colors look flipped, almost like a film negative, and wonder how that’s done. That process is called inverting a picture. The good news is you don’t need to be a photo expert to do it. Whether you’re on a computer or an iPhone, it only takes a few simple steps.
In this guide, we’ll explain how to invert a picture, show you different ways to do it, and walk you through how to invert a photo iPhone users can try right now.
What Does “Invert a Picture” Mean?
When you invert a picture, every color in the photo changes to its opposite. For example:
- White turns into black
- Blue becomes orange
- Green changes to pink or magenta
The result looks like a photo negative. Some people do it for fun, some for editing, and others just to make their photos stand out.

How to Invert a Picture on a Computer
1. Windows (Paint)
- Open your photo in Paint.
- Right-click on the picture.
- Select Invert color.
And that’s it—your image will instantly look different.
2. Mac (Preview)
- Open your photo in Preview.
- Click on Tools at the top.
- Go to Adjust Color and find the option to invert.
It’s very simple and works without extra apps.
3. Online Tools
Don’t want to use software? Free sites like PineTools or Fotor let you upload a picture, click “Invert,” and download it back in seconds.
How to Invert a Photo on iPhone
Now let’s talk about what many people search for: how to invert a picture on iPhone. Apple gives you more than one way to do it.
Method 1: Invert with iPhone Settings
- Go to Settings.
- Tap Accessibility.
- Choose Display & Text Size.
- Pick either Smart Invert or Classic Invert.
Smart Invert: Tries to keep photos looking normal while flipping other colors.
Classic Invert: Flips everything, including your pictures.
If your goal is to see how a photo looks inverted, Classic Invert is the best choice.
Method 2: Use an App
If you only want to invert one photo instead of your whole screen, use a free editing app. Popular ones are:
- Snapseed
- PicsArt
- Photoshop Express
Steps are usually the same:
- Open your photo in the app.
- Look under “Effects” or “Adjustments.”
- Tap Invert.
- Save the photo.

Why People Invert Photos on iPhone
- Creative look: Makes photos more eye-catching.
- Social media: Inverted pictures stand out on Instagram, TikTok, or Facebook.
- Accessibility: Some people find inverted colors easier on the eyes.
- Just for fun: It’s a quick way to experiment with editing.
Tips for Better Results
- Always keep a copy of the original photo.
- Try both Smart Invert and Classic Invert to see which you prefer.
- Use editing apps if you want more control over brightness and contrast.
- Start with a high-quality picture—the effect looks cleaner that way.
Common Questions
1. Can I undo an inverted picture?
Yes, just repeat the invert step again or go back to your saved original.
2. Will inverting lower the photo quality?
No, it only changes the colors. The resolution stays the same.
3. Is inverting the same as adding a filter?
Not exactly. Filters add effects, while inversion only flips the colors.
Final Thoughts
Now you know exactly how to invert a picture on your computer or your iPhone. If you’re an iPhone user, you can either use the built-in accessibility settings or go with a free app for more control.
Whether you’re experimenting for fun, making your photos pop on social media, or just curious, inverting a photo is quick, easy, and free. Try it today and see how different your pictures can look with just one simple change.
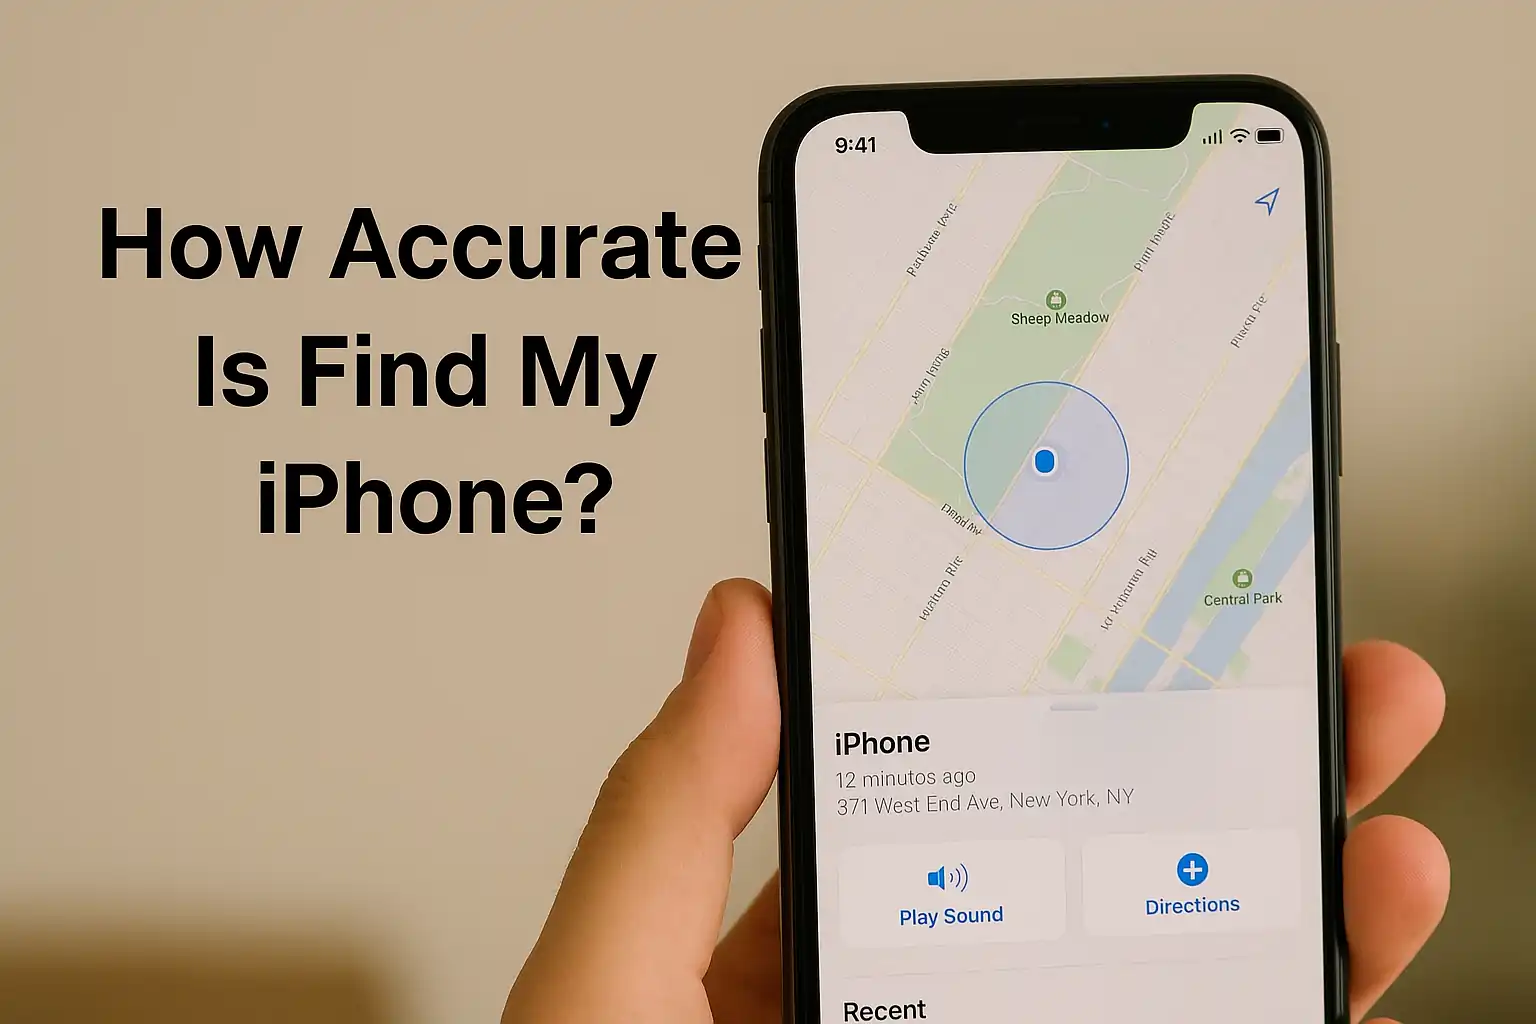
👉 You may also like reading: How to Pause Location on Find My iPhone, Apple’s Foldable iPhone 2026, and more iPhone guides.